Drift Patches / Styles
Custom Die-Cut Patches
Custom die-cut patches follow a distinctive silhouette rather than a standard circle or rectangle. A strong outline can make a logo recognizable, provided the narrow areas and edge details suit the chosen material.
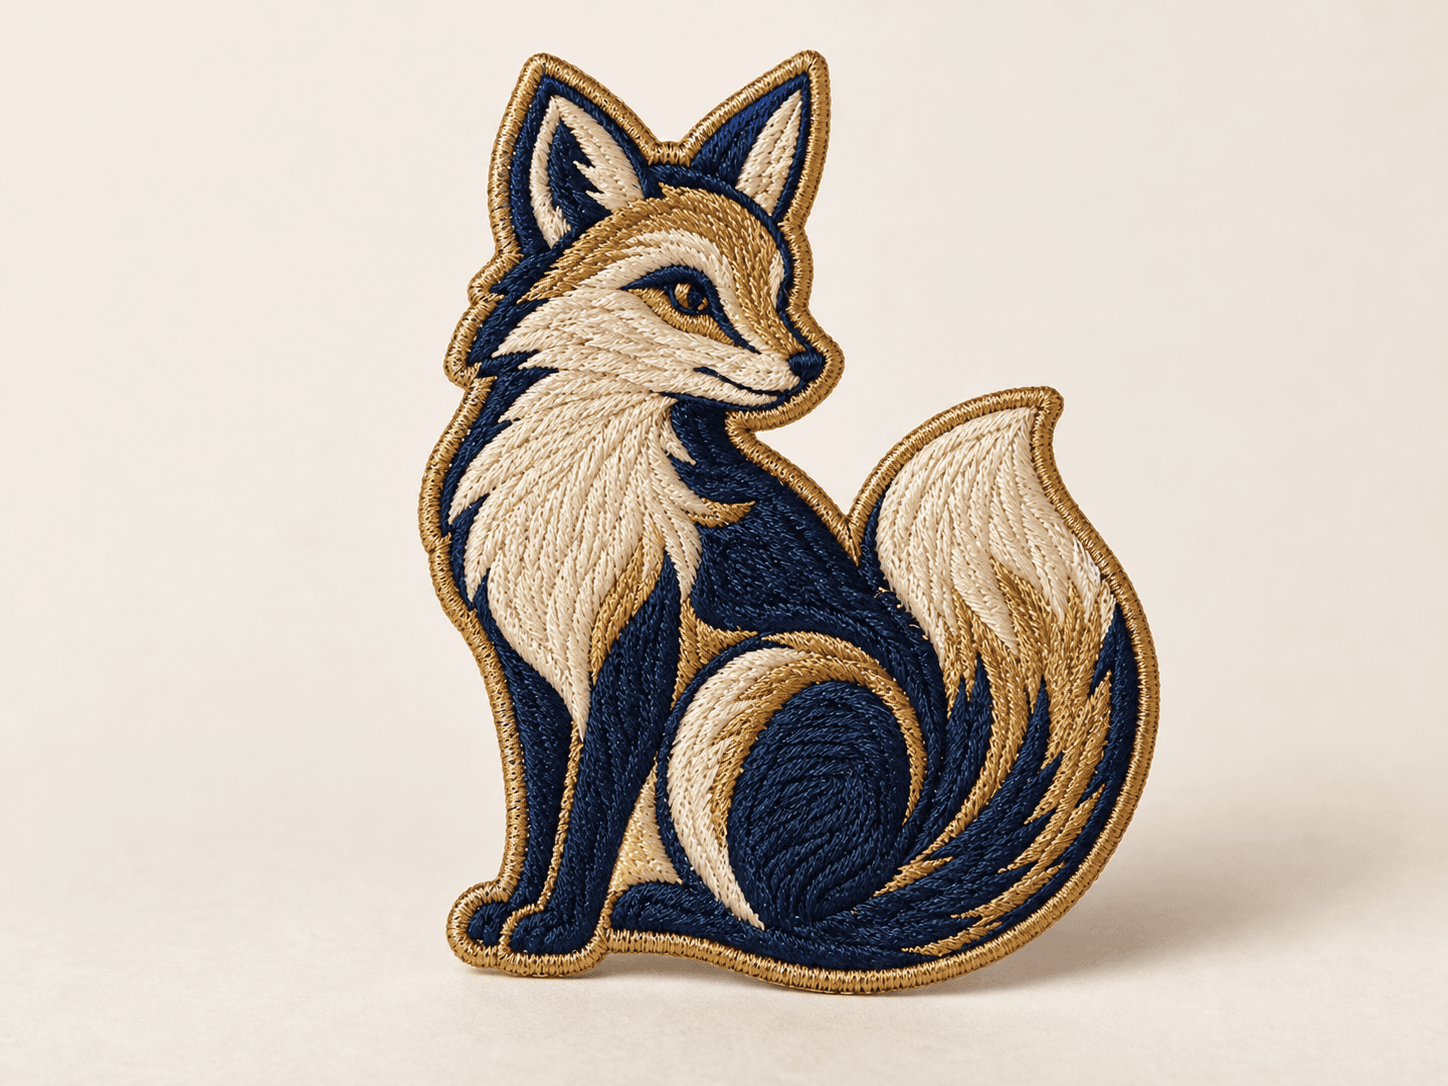
Prepare a separate outline
Supply the artwork and a clear outer cut line. Custom shaped patches need enough width around thin projections to remain practical in use. Very tight gaps or fragile tips may need simplifying. Do not assume every detail in a vector logo should become part of the outside edge.
Choose the finishing process for the material
Die cut embroidered patches, woven designs and leather shapes can require different edge methods. The term die-cut is often used broadly for shaped patches; your quote should identify the actual cutting and finishing process. A thick stitched border may be unsuitable for a complex contour.
Check placement beyond the bounding box
A shape can fit within a stated width and height while still interfering with seams or adjacent badges. Print the outline at actual size and check it on the garment. Include backing requirements because narrow sections also reduce the attachment area.
Questions about custom die-cut patches
Can the patch follow my logo exactly?
The outline can be assessed, but narrow or intricate areas may need adjustments for durability and finishing.
Do custom contour patches need special tooling?
That depends on material and process. Confirm setup requirements in the quote before approving the order.
Related options for your project
Explore all patchesCustom Border Patches
Compare patch borders: merrowed, hot-cut and laser-cut edges. Choose the right outline and border allowance for your custom patch design.
Custom Logo Patches
Turn your branding into custom logo patches for clothing, hats and uniforms. Get help choosing artwork size, materials and attachment.
Custom Leather Patches
Explore custom leather patches for hats, jackets and apparel branding. Plan logo detail, finish, attachment and care with a tailored quote.
Custom Woven Patches
Compare custom woven patches for detailed logos and small lettering. Choose a smooth finish, suitable border and backing for clothing or hats.